
Below are some of my samples.
 The top fabric was shiboried with a 50% bleach and 50% water solution on a Robert Kaufman black fabric. The bottom was taped with pieces of masking tape and sprayed with the 50/50 bleach solution using Timeless Treasures black fabric, this came out a peachy/cream color that I really like.
 The left fabric was a hand dyed fabric that started out a very dark blue/green. I used a cut-out of a tree branch from a stencil I carved for another project and sprayed 50/50 bleach, water solution. The results really surprised me. The right was a hand dyed fabric that started as a red/violet. I used 2 TBS bleach thickener and 1/4 c of bleach and 1/8 c water, and sponged with a couple different pieces of foam sponges.
 The left fabric was twisted in a swirl and squirted 50/50 bleach and water solution in the folds. This was an unknown black batik. The right was a Gee's Bend dark red solid that I shiboried with a 50/50 bleach solution. Another real favorite.
 The left was a hand dyed fabric I squirted with yellow and blue dyes and swished around. I used a purchased stencil on it with thickened bleach. The right was a blue/green hand dyed fabric that I used a Clorox bleach pen on for water ripples.
These are commercial batiks that I used purchased stencils with bleach thickener.
After the fabrics bleached to the colors I wanted I rinsed in water, then put in Anti-Chlor solution for about 15 minutes, rinsed again and then machine washed and ironed.
I had a great time experimenting with this process and will do again later this summer.


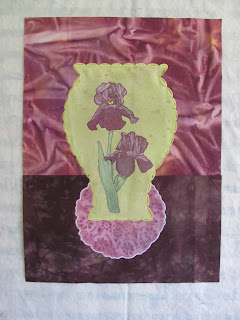 I added the green borders around three sides and the bottom border out of a sun printed fabric using construction fencing.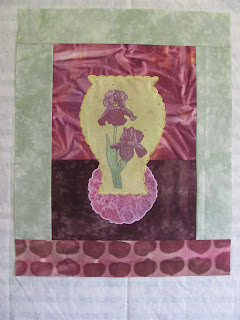


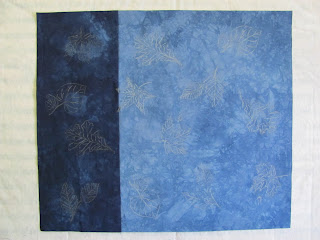
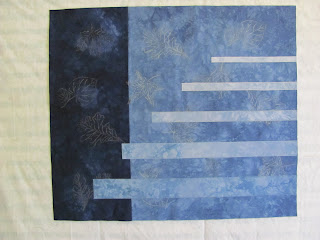 I then made varying sizes of triangles from a fabric by Caryl Bryer Fallert of orange values. I wanted the triangles to curve and show distance. This took many reconfigurations to get the effect I was looking for.
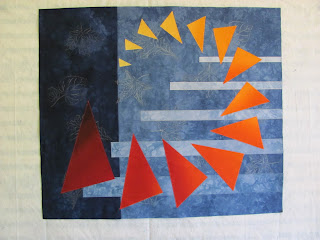 Quilting is my next step. I have a few ideas, but need to develop them further. Finished quilt will be in a future blog.
 This was started using a stencil and Walnut Ink, shown earlier in my blog. I added a curved frame, using reverse applique, and the border fabric was sun-printed using blades of grass and clover. Spelling out Basil and outlining blocks with beads added something extra.

