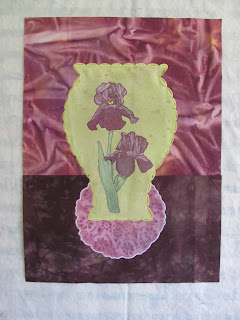
 I added the green borders around three sides and the bottom border out of a sun printed fabric using construction fencing.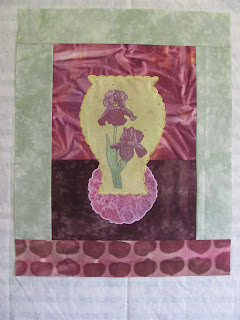
Various quilting designs were used and the quilt was finished with a facing.

 I added the green borders around three sides and the bottom border out of a sun printed fabric using construction fencing.
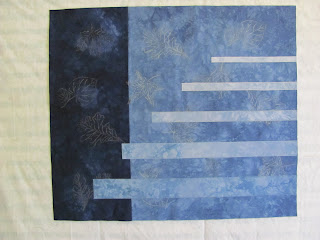
Playing around with the lightest blue fabrics, I cut strips in varying widths and lengths and fused them to the background.
 I then made varying sizes of triangles from a fabric by Caryl Bryer Fallert of orange values. I wanted the triangles to curve and show distance. This took many reconfigurations to get the effect I was looking for.
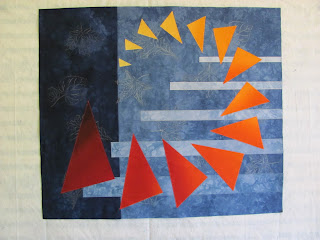 Quilting is my next step. I have a few ideas, but need to develop them further. Finished quilt will be in a future blog.
 This was started using a stencil and Walnut Ink, shown earlier in my blog. I added a curved frame, using reverse applique, and the border fabric was sun-printed using blades of grass and clover. Spelling out Basil and outlining blocks with beads added something extra.
 Fushia and sky blue on the left and sky blue on the right.
 Fushia and fire red on the left and fire red and golden yellow on the right.
 Black
Black
Fushia and sky blue.
 Sky blue accordion pleated
 Fire red and golden yellow.
 Black, it came out a purple
 Chino and gold yellow
Ultra violet

Navy and gold yellow

Burgundy and gold yellow
I let the snow melt (again about 4 hours) and let cure overnight. Rinsed, washed and ironed.
Below are these results.

Chino and gold yellow

Ultra violet
 Navy and gold yellow


The last set I used a green fabric and a fern and an unknown weed and then ghost printed each.

To end the day I sun-printed on a batik with some weed leaves with an olive green paint.
This technique gave some great results and a wiggly-giggly feeling. Everything is fun with jello!


