Last Tuesday I had a play day with some art quilt friends. Each brought some art supplies and fabric to experiment with paints, inks, fabric markers, stamps, stencils, etc.
I tried some Tsukineko spray inks, spraying around the negative parts of stencils. I used many different colors, some I borrowed.

Above is sage sprayed with lilac walnut ink.

Oregano with cornflower walnut ink.
 Carnations with cherry blossom walnut ink.
With the exception of the bugs, the fabrics are different yellow/green hand dyed fabric. The bugs are light blue hand dyed fabric.
The next day I outlined my stencils with a Sharpie black ultra fine marker and put in details.
 Moth with cherry blossom walnut ink.
I then painted the insides of the stencils with Tsukineko inks.
 Morning glories sprayed with terra cotta walnut ink.

Iris with eucalyptus walnut ink.
I also played around with stamping using Distress Ink Pads. Wasn't too happy with the results of what I made but it gave me some experience using the stamps and ink pads and the fun of experimenting without feeling it has to be made into a quilt.
I'm very happy with how the spray inks came out and will continue with the other flowers and bugs next rainy day.


 I feel I had more success this time around with the batiking. I learned to start off waxing with smaller designs first and with each layer of wax making the designs larger, also starting off with lighter dye colors and progressing darker.
 Using moss green, blue-violet and purple, I streaked it on then added some leaves and sun-printed.


 One of Martha's.
 Mine.
Mine. Martha's
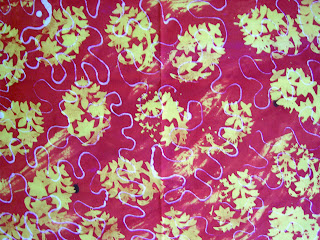 Mine
Mine Martha's
 Mine
Mine


 It ravels quite a lot when washed and tangled up with the other fabrics. I wasn't sure whether to throw it in the dryer, (didn't want it to melt) so I draped it over a clothes rack. It got back its stiffness.


 Each fabric was a surprise when discharged, didn't know what color any of the fabrics would change to. All were happy surprises.


 I also painted some dyes onto soda ash soaked black on white fabrics. I just squirted dyes on the fabric and smooched it around with my hands.


